Sunday, September 21, 2008

Front and Center

Well if ya have read the blog lately you know one of my new haunts is Sheetload of Cards. Today I thought I would give the Front and Center card a try. It is from the May 2008 issue of their Ezine, and you can download the instructions for free. The instructions are for 6 cards but they do have instructions for a single card.

I have been making so many Christmas and Halloween cards lately I thought I should make a few birthday cards. I used the cupcake from the Celebrations cart. I LOVE THAT CUPCAKE!!

Notice the different color mats? Well yeah....I was on the phone and messed up my cuts so had to use two different colors. But I think they still turned out nice.
Here are a few close up photos.

On this one I used the paper from where I punched for the eyelets to decorate the "icing" of the cupcake. I thought it made it look like it had those little hard candies on the icing. Oh and I did ink the paper on this one to add more dimension.....well okay I confess. After I had it done I realized the color blended in with the mat and kinda got lost, that is why I inked it. If ya click on the picture you can see the cupcake "paper" better. I used mulberry paper and glued and folded on the lines that cuts for it. I think it gives it a nice dimension. I used the Numbers cuttlebug folder on the mat. Of course I used my trusty Colorbox Cat Eye Inks.


On this one I used the Distressed Cuttlebug folder, I have to admit it is one of my favorites and don't think it gets enough credit! And do you see Stickles? Of course you do! HA HA HA Yeah I couldn't resist. I think I might have over doodled on this one, but too late now!! I did use some of my precious brads on the cards. I told my friend Scrappinbee that I was gonna start using stuff more and stop thinking "OMG IF I USE IT I WON'T HAVE IT ANYMORE". I mean afterall we buy the stuff to use it so why do we hoard it? *okie sighs* I know I know I have asked this question many times before and one day I hope to find the answer! BUT.....in the meantime if ya'll find the answer please share it with me!

Chicken anyone??

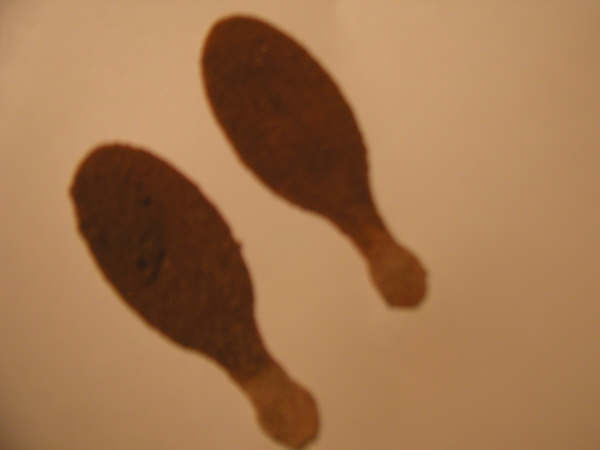
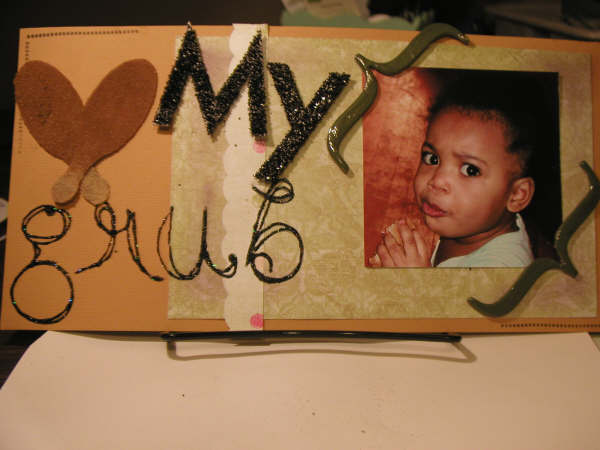
My MB friend Scrapnic asked if I could make her some CHICKEN DRUMSTICKS and I told her I would try. Well I thought they looked like they would cut okay but my goodness!! What Nic did with them was amazing!! She used sand to make the "breading" on the chicken and they look amazing!! The drumsticks are approximately 3.25 inches from top to bottom. I dunno who that baby is in the picture....BUT WHAT A SWEETIE!! The file also includes a shadow mat if you need shadow chicken. Thanks for sharing the pics Nic *okie cracks up because she made a rhyme* and now I am hungry for some chicken!!

Monday, September 15, 2008

A few simple cards...

Well I was going to say there was no Cricut or Cuttlebug on these cards but there is! LOL I wanted to do some simple easy cards and these are the ones I came up with. The sentiments are Studio 112 and some Basic Grey. The paper is from some Basic Grey 6x6 mats and then also some card stock.

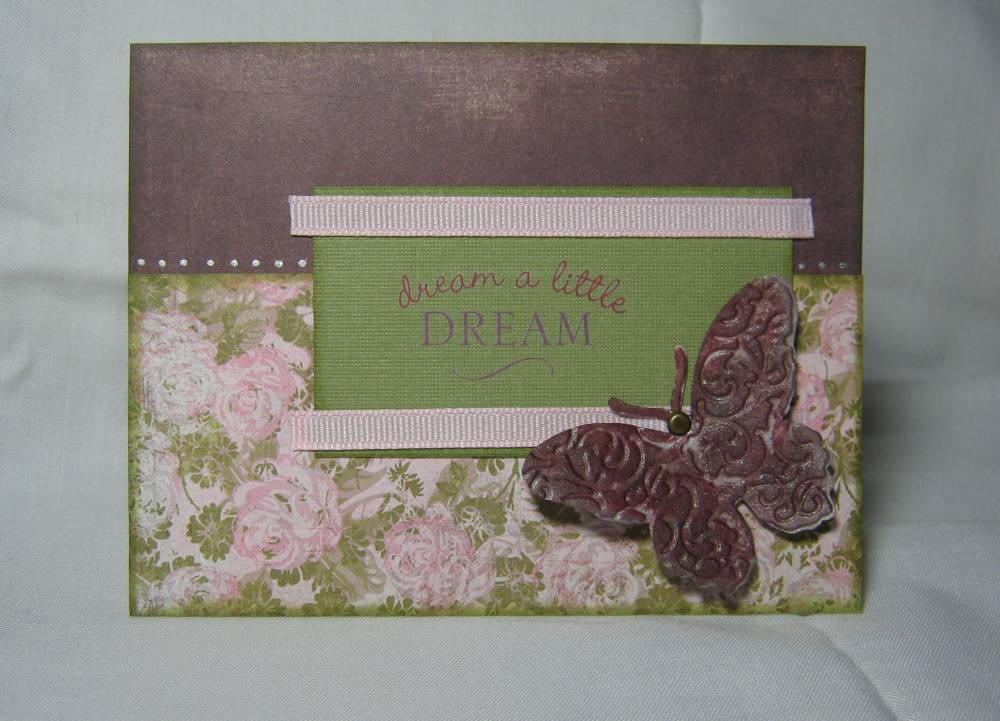
This first one does have a butterfly from the Cuttlebug Butterfly Tag Team set. I just LOVE LOVE LOVE.....did I say LOVE? these butterflies!! It is chipboard. I used some glimmer mist on it then used alcohol inks. I just found some paper that matched the butterfly. It was a very simple card to make and got the idea for the layout of it from Page Maps. If you haven't tried that site you should! IT IS TOTALLY AWESOME!! And is listed on my favorite places! The dots along the card are a silver gel pen. I had a hard time not adding more things to this card but I wanted it simple so I resisted....but it was very hard!! Sometimes I think I just continue to add stuff until it ruins the project. I know there is NO ONE else that ever does such a thing.......RIGHT??

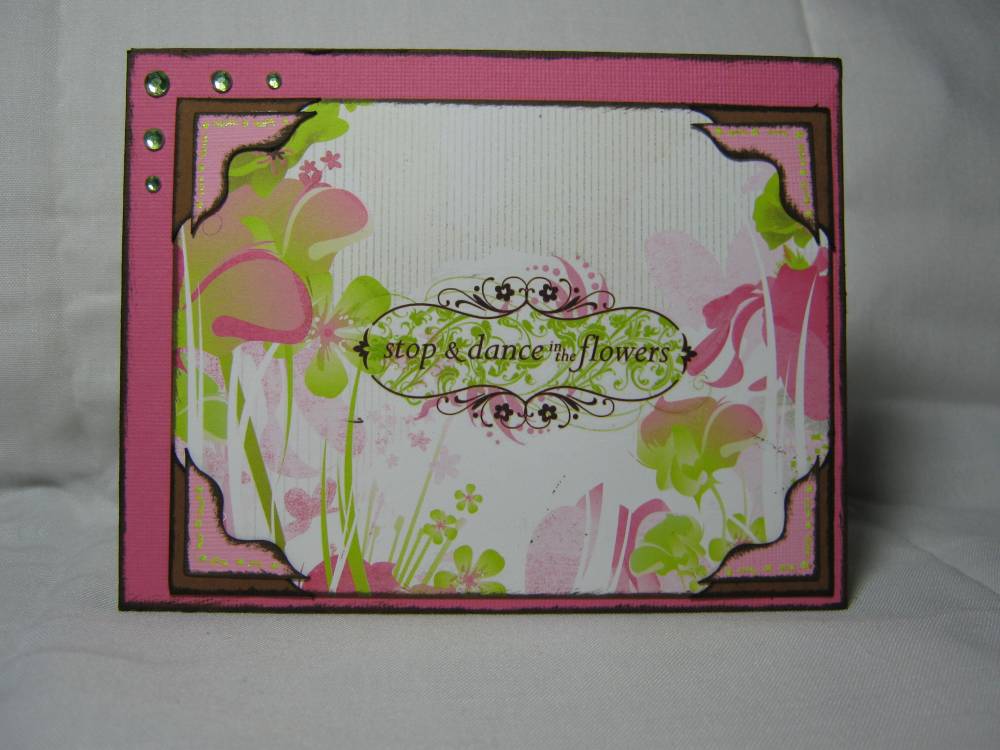
This card does have some leftover photo corners from Jasmine. I layered them for effect.....okay actually I couldn't decide which color I wanted to use so I just used both! hee hee hee I did add a little bling to the card. I am trying to do better about using my supplies and stop the thinking mode of "OMG IF I USE IT I WON'T HAVE IT ANYMORE". I have to tell myself that I can always get more if I need to. The rubon is from a Basic Grey set. The inking is NOT cat eye. It is actually a cat eye pad that went dry and I now add some Tim Holtz walnut distressing ink to the pad. My LSS owner gave me this idea and it works great!! However I have been known to put too much ink on the pad and make a huge mess....but we won't talk about that. At least I won't. So....ssshhhh!!

Okay not sure if you can see it or not but the rubon says LAUGHTER. I used a Prima flower on this one. For the center I cut a chipboard circle and colored it with some cat eye ink and then embossed it. Well I didn't like how it looked so I added some Glossy Dimensional accent.......didn't like that either so I added Stickles.....FINALLY I LIKED IT! LOL The charm is one I got years ago at Wal-Mart during my Christmas Stocking phase *side note: Christmas stocking phase was when I made Christmas stockings with material scraps and added ribbon, charms and whatever suited my fancy at the time...now back to the regular scheduled blog post* The 3 small dots at the bottom are Robin's Nest accents. My friend Scrappinbee sent me a few bottles of those and THEY ARE LOVELY!!

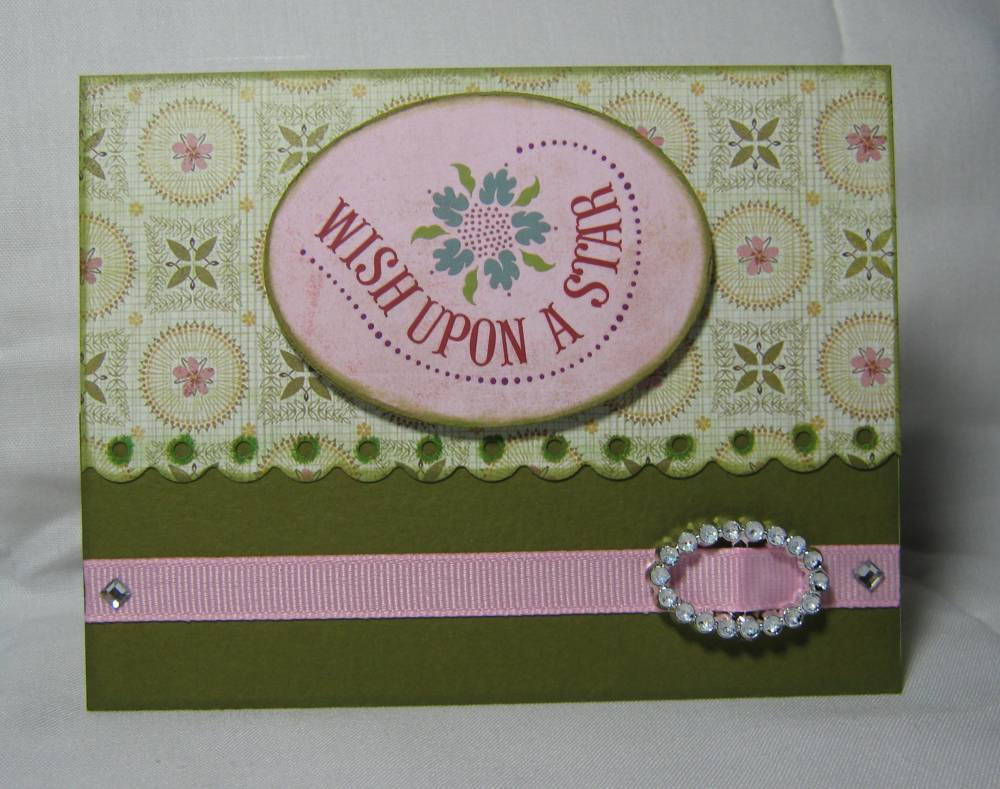
I did use the Threading Water punch on this one.....have you ever thought about the name of that punch? It doesn't look a thing like water, nor does it look like it is thread....not sure where they got the name....but I do like the punch!! I got the ribbon buckle in a pack from LTD commodities. It is the first time I have used one.....and I like it.....what do you think of it? I cut the oval with one of those Fiskar templates and then also cut one on chipboard. It is pop dotted and stands up from the card. I used the cat eye chalk ink on this one. I am really loving the Olive Pastel!! Oh yes...and there are two little pieces of bling. I think this one makes a nice birthday card with the sentiment on the front!!


Oh and don't forget......if you have a hard time seeing the details you can click the picture and it will open up bigger for ya!

Sunday, September 14, 2008

Pocket card........Halloween!!

I had made this POCKET CARD file some time ago but just got around to using it last night. I am still using some of the scraps my LSS owner gave me so I decided to make another Halloween card...because I SEND SO MANY *okie rolls eyes at self and wonders why she keeps making them since she has never sent a Halloween card before in her life*. I just sized my objects to the where I was going to use it on the card then copy and pasted onto a new mat for making the Halloween version. But the version for download is just a plain version. So you can add what you like, or add nothing at all.......totally up to you! *okie hopes everyone likes the versatitilty of the card files she makes*

BUT!! If you want to make this particular card you can download the POCKET HALLOWEEN CARD. All of the work is done for you! *okie grins big* The carts used are George, SYI, PDDU and Paper Pups. If you don't have all of those then you can just delete what you don't need and add what you do.

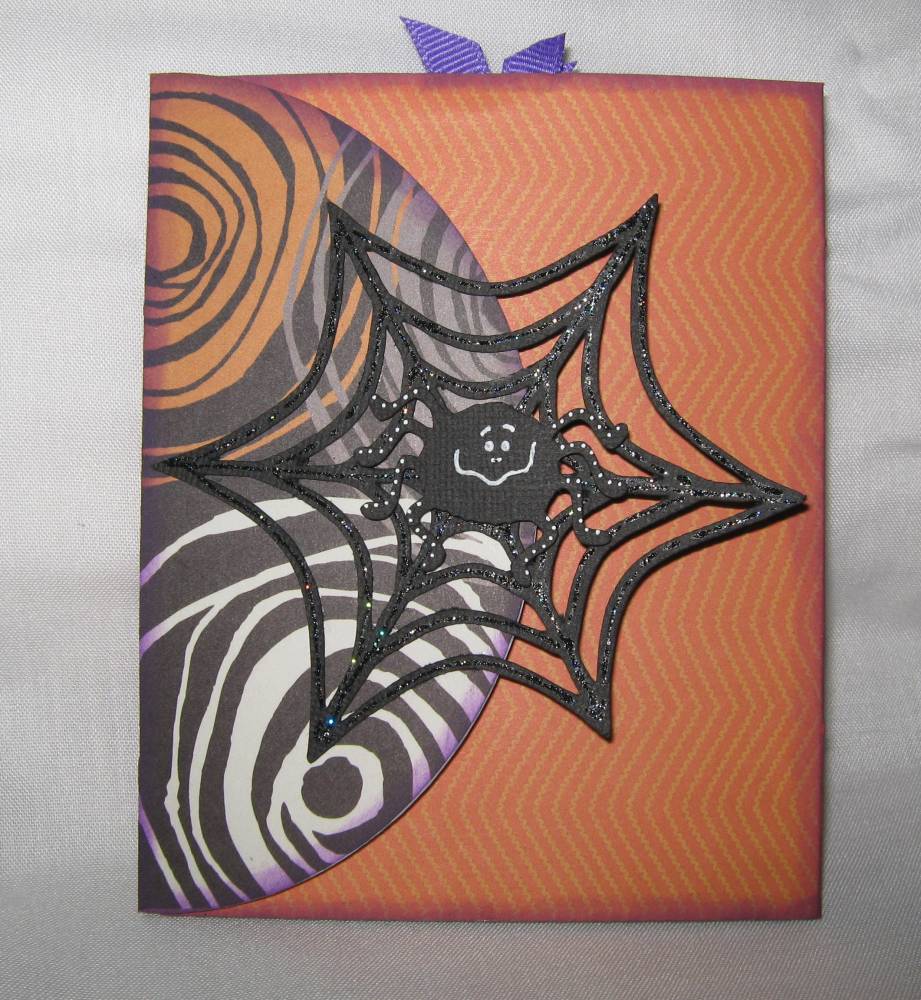
So anyway here are the photos. I used Paper Doll Dress Up for the web and the spider. I did add a pop dot under the spider. OH yeah.....this is an A2 card so fits in a standard size envie. But with all the stuff it will require extra postage because it is over 1/4" thick. I used a velcro dot to keep the card closed and added some Scotch 2 way glue to make the card stay closed.


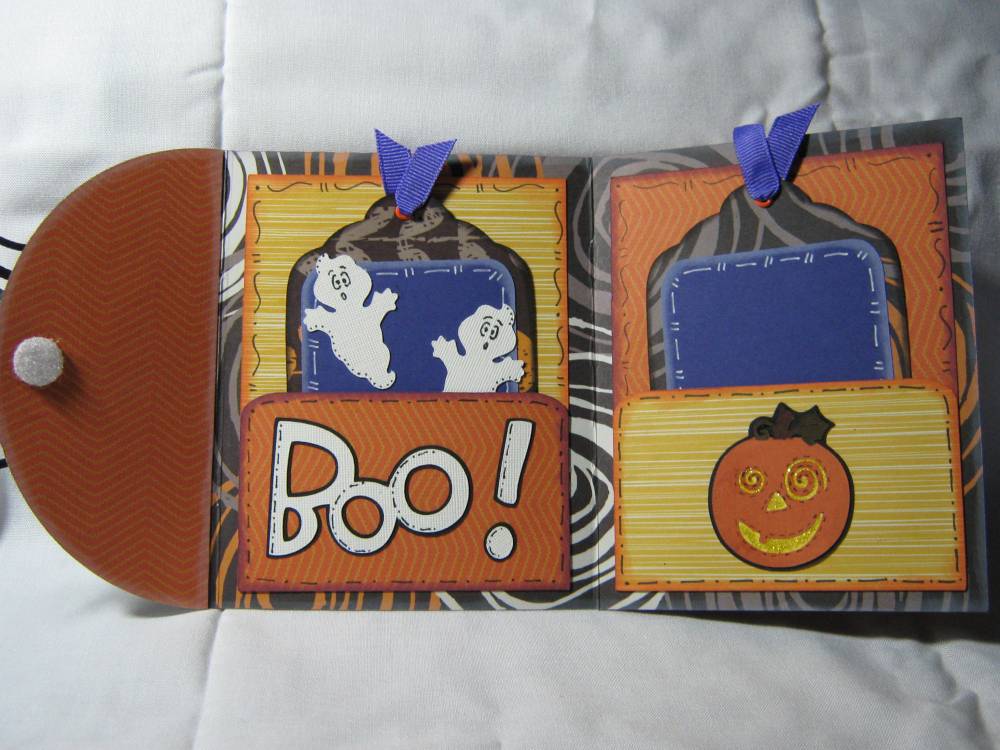
This is how it looks opened up. I used Paper Doll Dress Up for the Ghosts and fence. The jack-o-lantern is with Stretch Your Imagination and the BOO! is from Paper Pups. And I doodled, then I doodled, and then doodled a little more HA HA HA! Of course I had to ink it! My two staples of scrapping and card making.....INK AND STICKLES! LOL


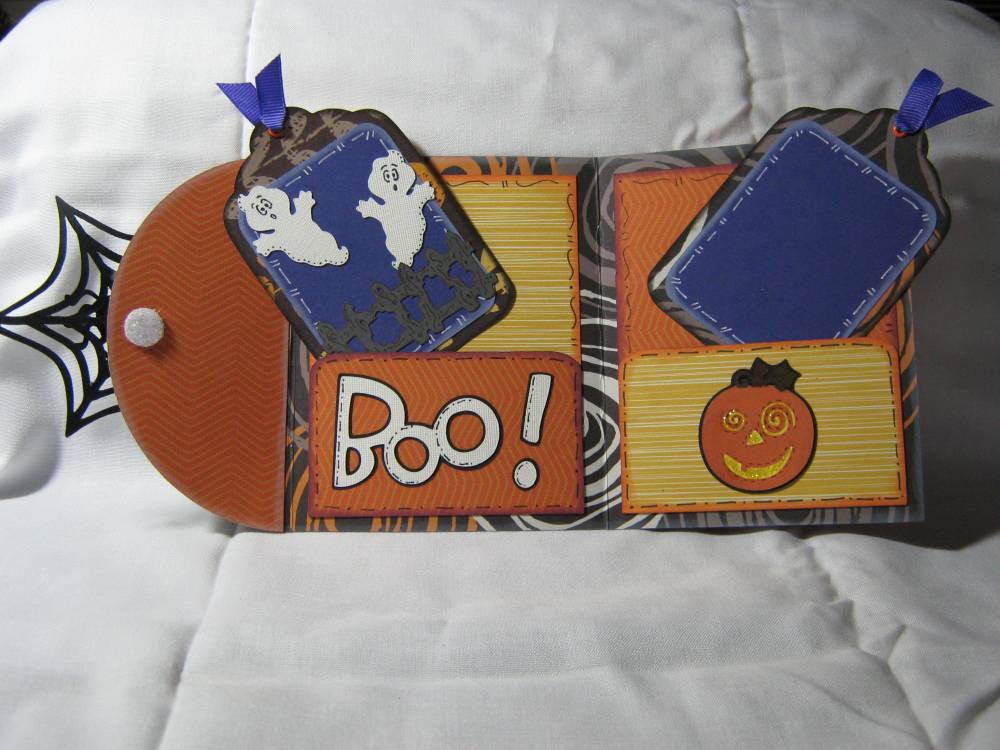
Here is what it looks like with the tags pulled out. Now you can see the fence. I left one tag blank so writing could go there. The mats and ribbon are purple, but kinda look blue to me in the photo.....WHAT IS UP WITH THAT?? You can see the velcro in this picture. Oh if you click on the picture it will show the larger version and you can see the detail better, especially the fence.

Anywho....hope ya'll enjoy the card!

Saturday, September 13, 2008

A couple more fall cards.....

I finally finished with the 6 Square3 cards. Not posting all of them because some of them are like the ones I already have done.

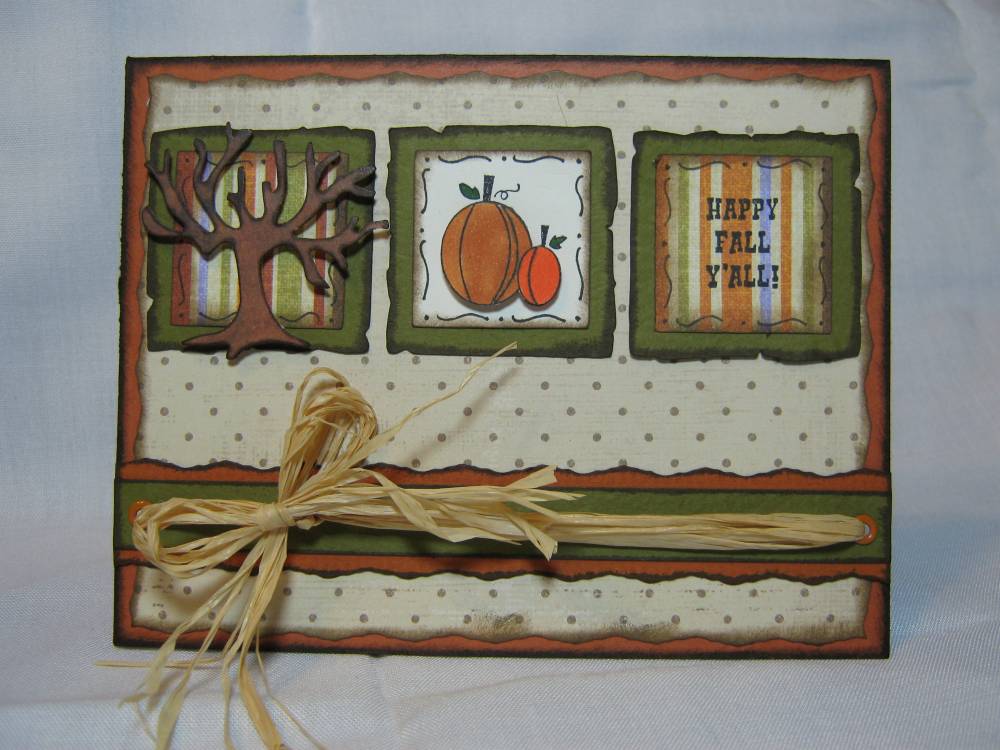
BUT......this one I really like! I used raffia! *okie thinks to self....yeah okie they can see that it is raffia* I did punch holes and set eyelets for the raffia to got through. I think it just adds the perfect dimension for fall! I stamped the pumpkin on the off-white square and then stamped another one and used foam mounting squares to add it over the one on the square. The tree is a Marvy punch and it is also on foam mounting material. The stamps are from the Studio G series 20 set. The fall ones were the only ones in that series I really liked and thanks to Grits4ever I am having a blast with them!!


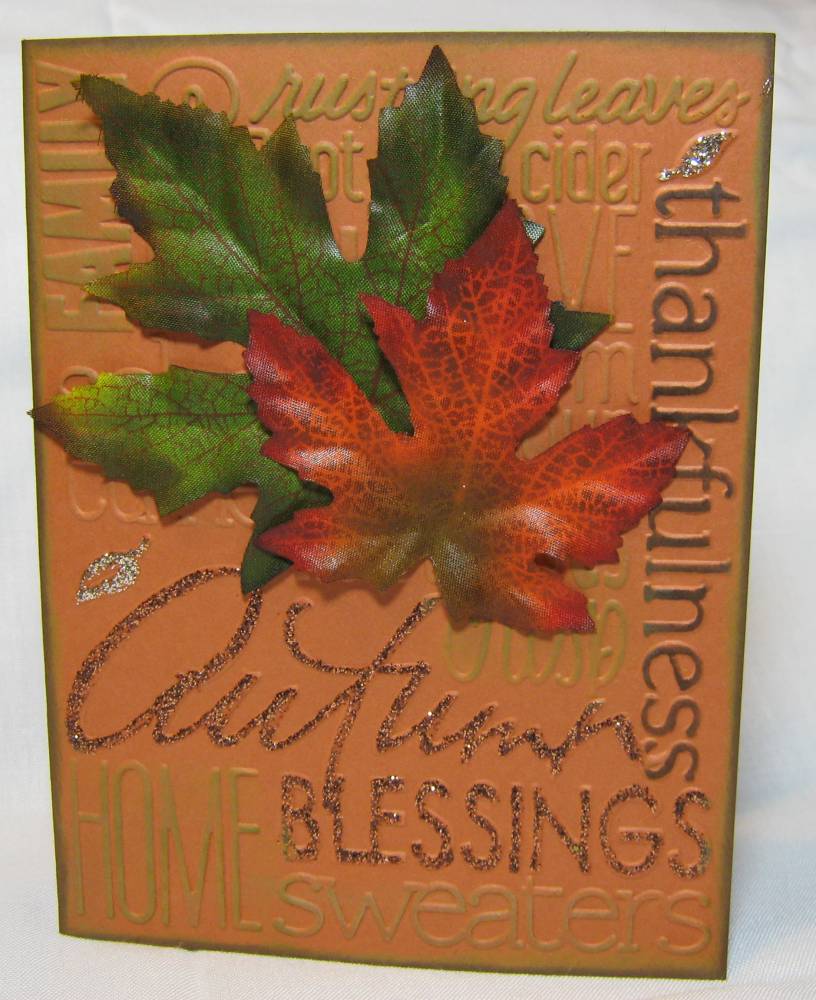
This card is with the cuttlebug A2 folder Autumn Blessings.....or Autumn words.....can't remember LOL. I used stickles and ink on the card. I got the leaves at Wal-Mart a few weeks ago. They were $1.00 for a package of 80, GREAT PRICE!! I did some brown ink on the leaves to give them a more weathered effect. And yes........STICKLES! *okie grins and nods head* I know you guys are surprised to see Stickles! HA! Okay my friend Scrappinbee just informed me the folder is called "Autumn Embossing Folder". Thanks Bee!! *wonders if everyone knows what the Bee really stands for.......okie now thinks that Bee is gonna wanna whoop okie if she reads this* I don't like the platinum stickles on the embossed leaves in the picture.....but in person they do look better!! I PROMISE!!

Tuesday, September 9, 2008

Fall is in the Air

Okay okay not quite yet........but it isn't too early to be ready now is it?? OF COURSE IT ISN'T!

This is another Square3 card *.cut file posted in another post*. I used some of the Studio G stamps that Grits4ever sent me *okie cracks up everytime she says that name*. The tree at the bottom is a Marvy punch. My LSS owner got this punch last week and I ran by there this evening and asked if I could ask a HUGE HUGE HUGE FAVOR and borrow it to punch some trees. I had my paper with me so at least I wasn't asking to leave the store with it. But if I had she likely would have let me.......I HAVE THE BEST LSS OWNER EVER!!.

Oh yes back to the card. THe scrolls on the green strip is also from a Studio G stamp set, I think from series 11. I used Jasmine for the photo corners and Stamped for the square mats. I did have to use DS to size them how I wanted as it was a rectangle and I need a square. Anywho.....I think it turned out pretty nice!

Sunday, September 7, 2008

What's up Doc?

HA HA HA I crack myself up........as ya'll well know by now! I can just see Bugs Bunny munchin on these!

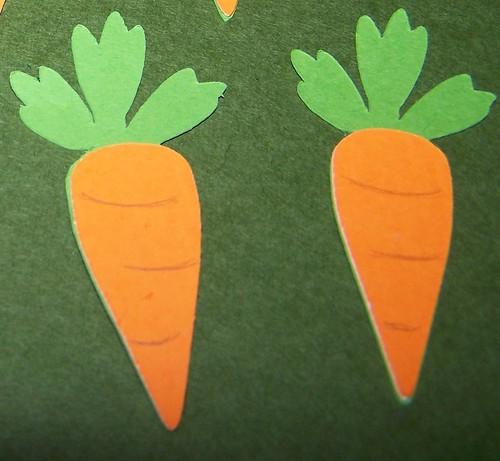
Anyway a MB member asked if I could make a CARROT .cut file for her. So I did. I asked if she would take a picture so I could post. There is a mat that makes cuts for the lines but like I told her I think they would look better done with a pen, and hers turned out great!! They are about 2 inches over all. She hadn't finished gluing them down, I think that is what she told me. Anyway.......here is some vitamin A for ya, maybe it will improve your cricut's eyesight! *okie crackin up laughing again*

Oh yeah.....It cuts 4 at a time.

Square 3 card

I made a .cut file for the SQUARE 3 card. I didn't do a cut for the card mat which is 5.25x4 because I think it would be easy to cut on our own, and would actually waste paper. But for the other smaller cuts they are all there. The mats are labeled and there is a LO mat included. When doing this file it will cut 6 cards at once. WOOHO!! Don't ya love a time saver!! And a good thing is that with using DS if you are going to make cuts to put in the squares you can size them by using the stamped image squares!! Just make another mat and copy and paste them on there if you like or write down the sizes and do them in another file. The choice is yours!

My halloween card I posted earlier is a Square 3 card.

Saturday, September 6, 2008

S'more

Someone asked about a S'MORE cut file. I thought I would make one real quick as I would need to post it before going to the crop today. YES! I am going to try this one more time! I never get anything done but I am determined today to get some LO's done!! Wish me luck! HA!

I only have a screenshot of it since I don't have time to cut it. Yeah the marshmallow is grey, but white wouldn't show up! Just think of it as slightly charred in the picture! *okie stilll just cracks herself up!*

The mats are labeled and the base is on the bottom cracker, you build up from there.

Well hope someone can use this!!

Friday, September 5, 2008

Trick or Treat

What will I do with Halloween cards? WELL I JUST DON'T KNOW!

But they are kinda fun to make. I used the LO from the August issue of Sheetload of Cards website for this one. I was able to make 6 at once. I used PDDU for the ghost, bat and spider. The sentiment is a Studio G from series 12. The paper is some scraps that my LSS owner gave me today so I have no idea what line or company it is from.

I did use the swiss dots cuttlebug folder on the black strip. And of course I had to add some Stickles!! *okie knows everyone is surprised that she used Stickles..HA!* I like this card design and it seems like it will work well with a lot of the Studio G stamps!! I want to try this LO with some fall/Thanksgiving cards also!

Sometime during the day or night..........

I HIT 100,000 VIEWS!! WOW WOW WOW! That is just hard for me to even imagine that many hits on my blog! Thank you everyone who comes to look and see what is going on. Even though sometimes there isn't much going on *much like okie's real life* you guys continue to stop on by!! So just giving a shout out to all you wonderful people!!

Oh Christmas Tree.......

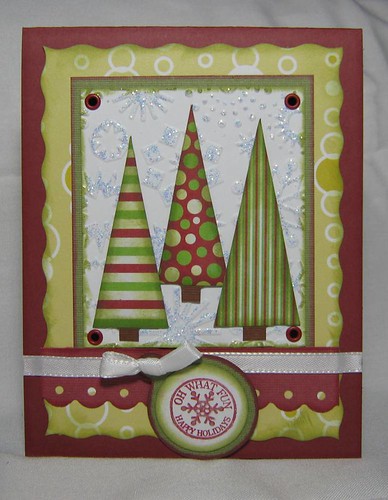
I decided to try out the SheetLoad of Cards site and found this layout in their September issue. With their directions I was able to cut 6 cards at once.

I swear it takes me forever to pick out what papers I want to use! I can find a card I want to do then I spend 5 hours deciding which papers would look the best and it never fails that I always end up changing the papers like 20 times!! ARRGGHH!!

I couldn't decide what to put in the middle as it seemed the examples had stamped images. I was feeling too lazy to even try and color an image so I wanted something simple. I went through a DCWV Christmas stack I had and found a sheet with these Christmas trees. I had to cut them down to make them fit the white part. I then glued them onto some brown cardstock to add dimension and also the trunk that I had cut off. I inked the edges with Olive cat eye chalk ink. The red inking is with Ruby cat eye chalk ink, I think!!

I used the snowflake cuttlebug folder and stickled it. I think I use more Diamond stickles than any other color! The green mat is from the DCWV neutral stack. I don't remember what kinda paper the big mat is. It is something I got at the LSS that was on a clearance rack.

I used the threading water punch for the band. For the sentiment I used a Studio G stamp from series 12. And the green mat is from Mini Monograms and has the circle with the small circle and a hole in the middle. Heck I dunno what it is called but it worked for what I needed!!

Thursday, September 4, 2008

A few scrap cards

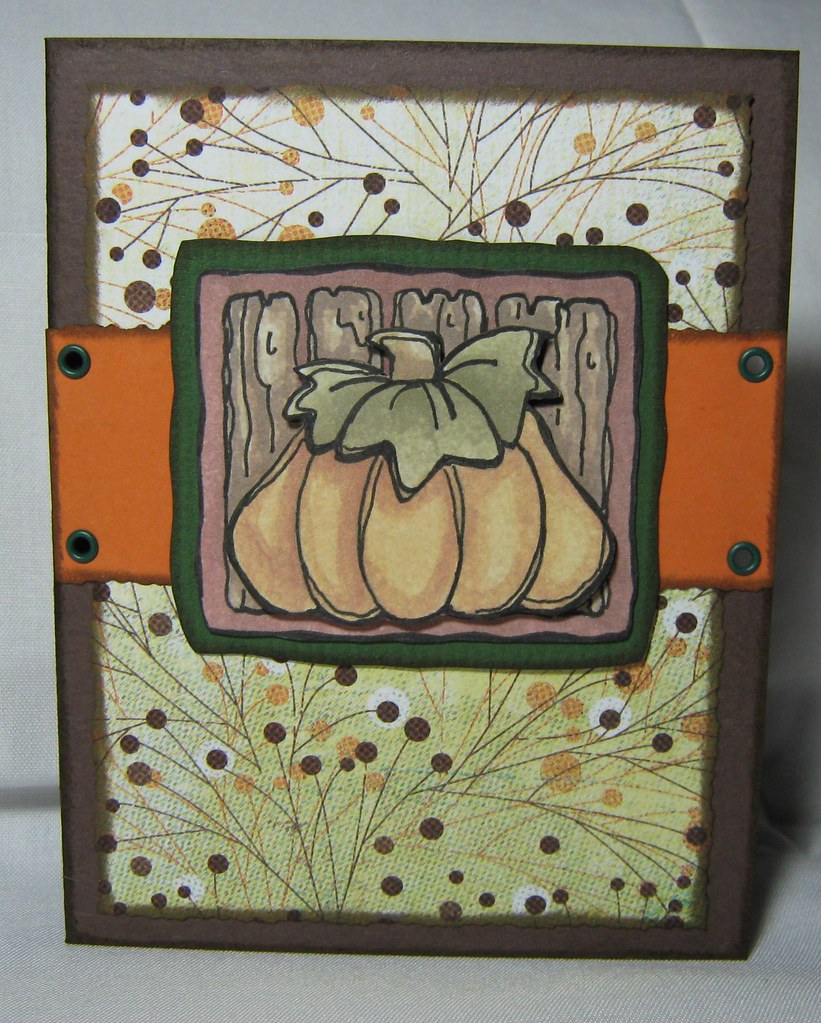
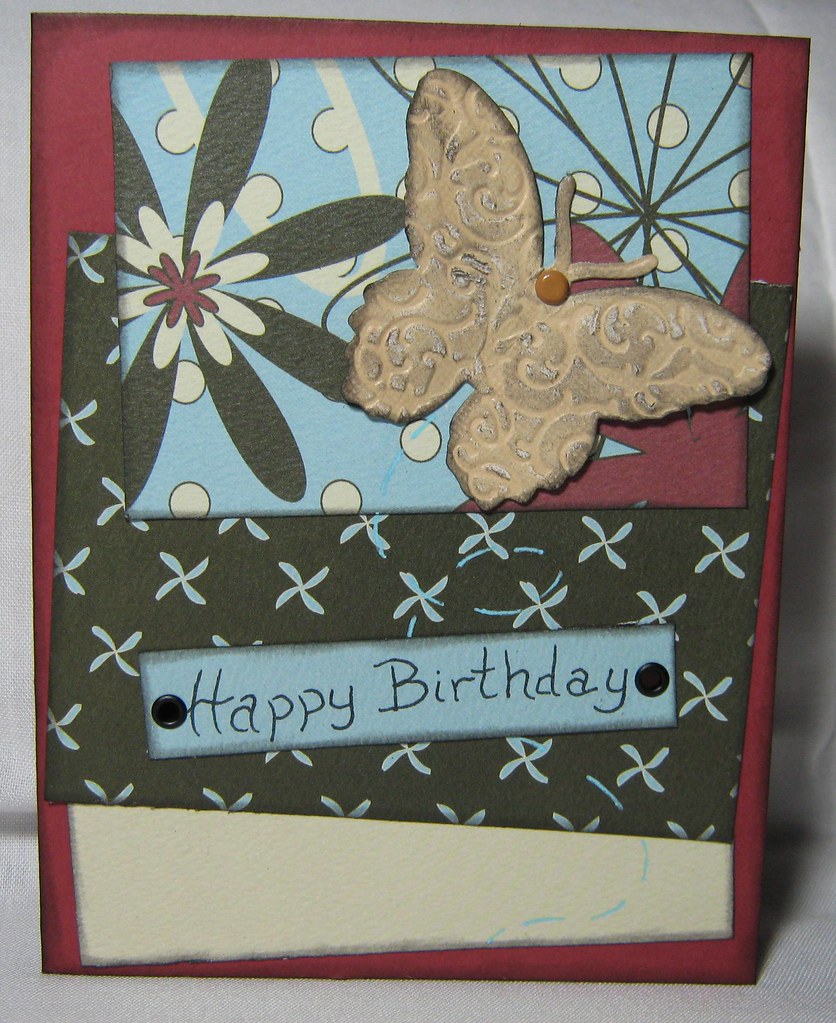
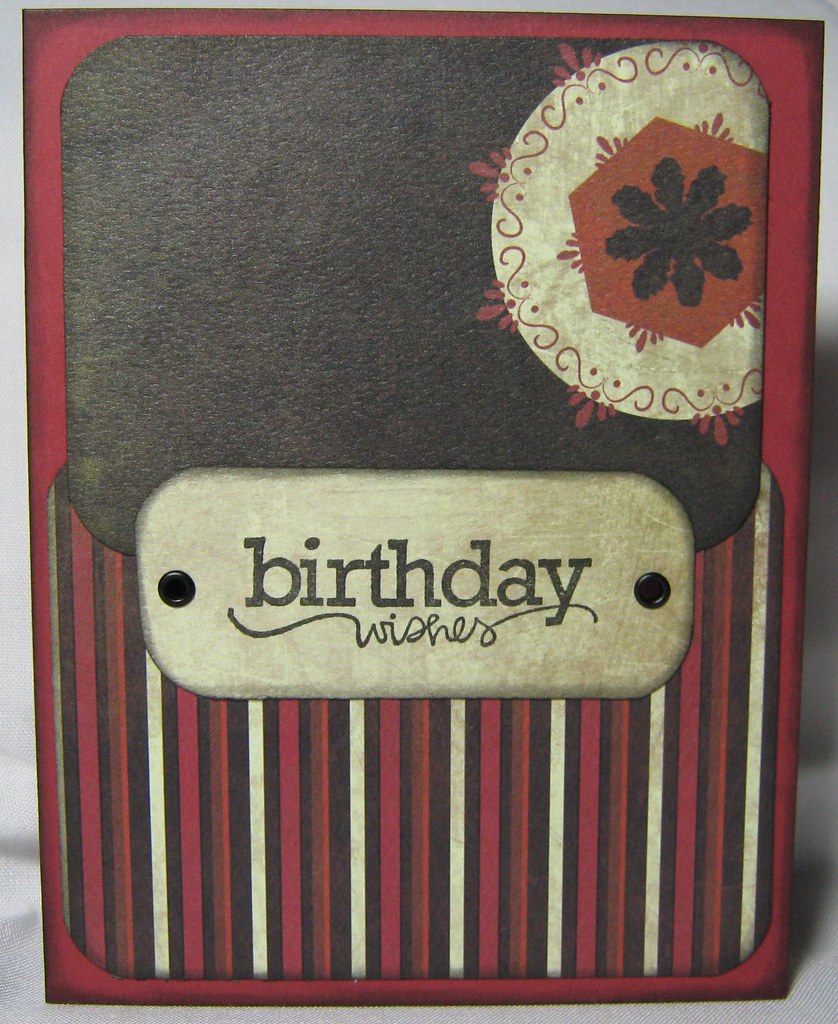
Here are a couple of cards I made last night. I had made two more but gave them to my LSS owner as she had given me a scraps I used to make them. Well not the pumpkin one, but the others.

Here is the pumpkin one. I used clipart from PC crafters mall for the pumpkin. I actually printed two and then cut one where it was just the pumpkin and used foam under it to make it stand out.


On this one I used the cuttlebug butterfly tag team set. I love that set!! The paper is some that my LSS owner had given me. It was a stack of 4x4 squares. She figured I could use them for card making.


I was going to put a butterfly on this one but then when I had it like this I thought "OMG I CAN USE THAT FOR A MAN'S BIRTHDAY" so left the butterfly off of it. With that being said the card will likely just gather dust as I don't know any men to send a card to!!

Tuesday, September 2, 2008

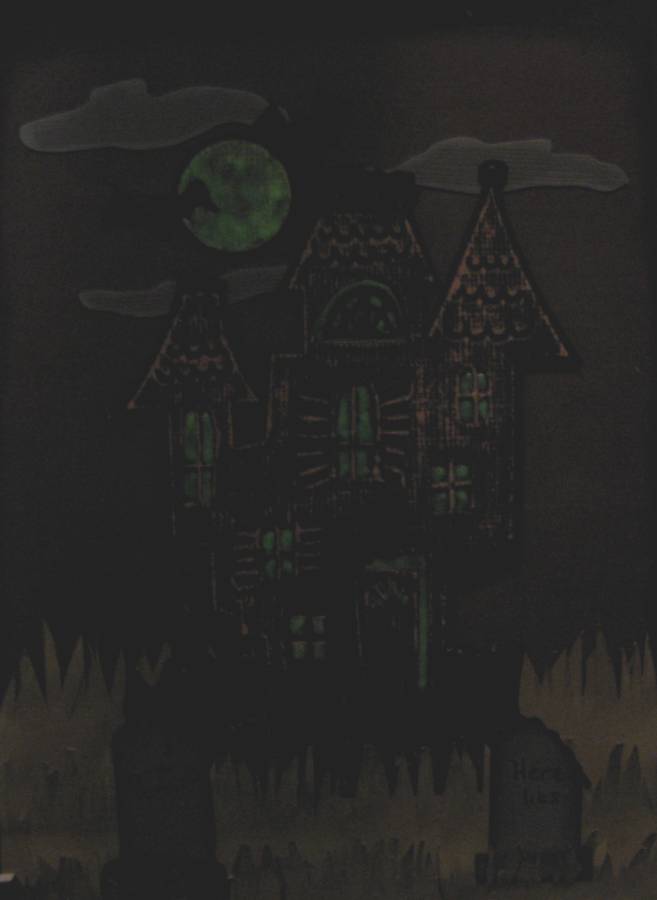
Haunted House

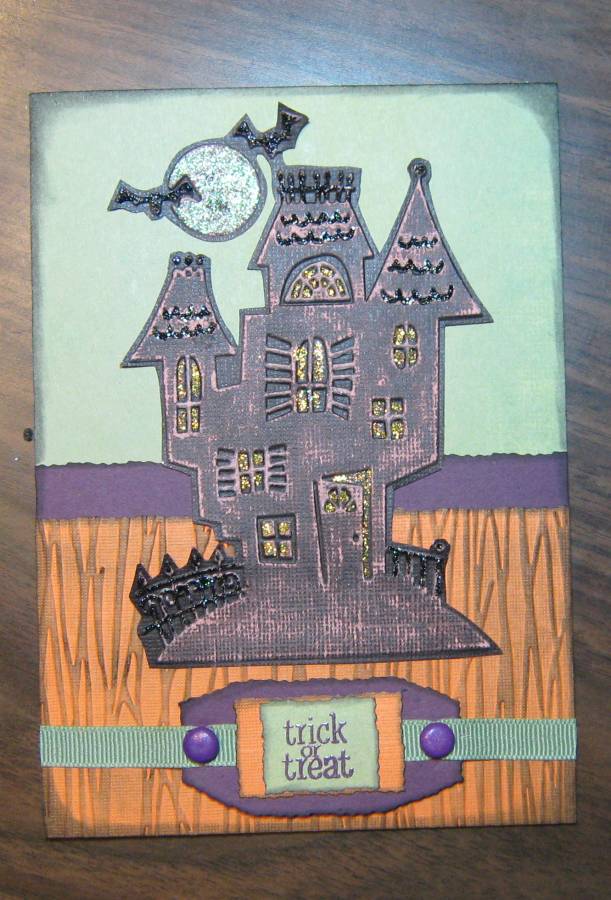
I don't usually do Halloween since my daughter is now 16 but I couldn't resist the Haunted Halloween cuttlebug folder! After I got it I had to decide what I was going to do with it. Soooo.......I decided to try a Halloween card.

This one took me awhile to do because I couldn't decide what to do. I had my friend Scrappinbee on the phone and kept taking pictures and sending to her and she told me what to add. I think it turned out pretty nice!!

I used the Coredinations Black Magic paper for the house. I used stickles on the bats, moon, windows, roof and fence. The bottom part is with the forest branches cuttlebug folder. The brads are some that I inked and then used clear embossing powder on. OH yeah and the inking is done with the cat eye ink.


BUT THE NEXT ONE! I LOVE!!


Again I used the Haunted Halloween folder and Black Magic paper. But this time I used some glow in the dark Scribblers in the windows and on the moon. I hand cut the clouds, grass and tombstones. I used plain black scribblers on the bats and fence. Sorry the photo doesn't show the glow in the dark well but let me tell you.........IT IS AWESOME LOOKING IN PERSON! My daughter said "OMG MOM! That is spooky looking! I hope you aren't sending that to some little kid!" LOL

So did ya get scared lookin at the card?? *totally cracks up laughin!!*

Monday, September 1, 2008

Was I up for the challenge??

I was challenged on the Cricut MB by DrewMessman. The challenge was to make a "naughty" card but it still had to be clean. The member that challenged me was able to make a rule and I was able to make a rule. His rule was that we could only use the Cricut and our paper cutters, no scissors or craft knives, etc. for cleaning up cuts. My rule was no embellies - paper only! Which I could have kicked myself since I was dying to use some ink or pen on the card but couldn't!!

I have not seen his card yet but this is the one I did.
There was more I could have done for the card but I knew I was having company this evening so I had to get it done.!


*****************************UPDATE!!!*************************


Drew got his card done.......OMG!! It is too funny!! And I think he must have peeked at my anatomy for this one! HA HA HA HA This was really a lot of fun! Thank you so much Drew for the fun challenge!!

In case ya can't read the words the front says "Feeling DROOPY? A little UNEVEN?" And the inside says "Hope this card PERKS you up!"

Sunday, August 31, 2008

Animals are loose!!

Hello........anyone here? Well if you aren't I sure understand since I haven't been posting much lately. School started two weeks again and it sure keeps me busy this time of year. Of course I am glad since my caseload is picking up and maybe I can get some money coming in!! This summer was one of my roughest I have had but now with school I am getting my caseload up and staying busy. BUT TOO BUSY TO GET MANY THINGS DONE!! Well scrappy things that is!

So this being a long holiday weekend I thought I would get some cards done! My LSS owner gave me her Animal Kingdom cart for selling some carts for her WOOHOO!! SO I have kinda gone animal crazy this weekend!

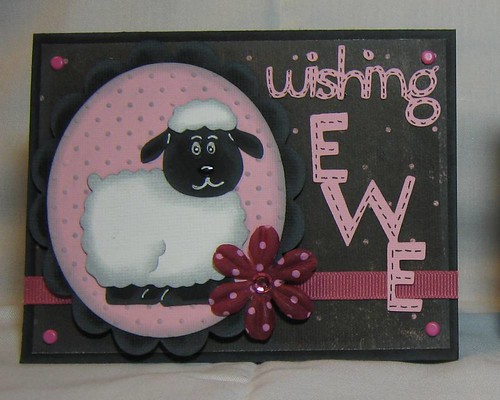
The first one I designed was the Wishing EWE A Happy Birthday. But it was the last one I cut LOL. I used MiniMonograms for the scallop, it was a circle but I smooshed it to make an oval. I used Cuttin Up for the words. I used Glossy Dimensions on the eyes and nose. Swiss Dots cuttlebug folder on the pink oval. After I was almost done with the card I thought there was too much pink and black so I threw on some ribbon and a flower that has some raspberry tones to them. The inside is just done with MSword and says "A Happy Birthday" and is done in a pink and raspberry color.


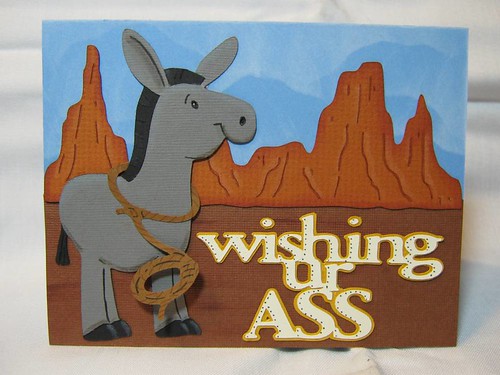
My card that seems to be the biggest hit on the Cricut MB is my "Wishing ur Ass A Happy Birthday". The idea actually came to me while I was on a marathon phone conversation with my friend Scrappinbee. We were talking about the animals and I was telling her about my Wishing EWE idea and then I asked if any carts had a donkey. She said she thought Paper Doll Dress Up did. I told her "OMG I COULD DO A WISHING UR ASS A HAPPY BIRTHDAY!" We laughed for 10 minutes about the idea! Well of course I had to make the card then!! The Mesa in the background is also PDDU, as is the rope. The wording is with Base Camp. The sky is a neat little trick I learned from the local stamp club lady!! Very easy to do!!

My next card is the "Have a toadly Happy Birthday". I used AK for the frog, WIMG for making the lilies *of course okie used DS to adjust what she needed*, and Printing Press for the wording. I am not too pleased with this one.....not sure what to do different but next time I will try and think of something!!


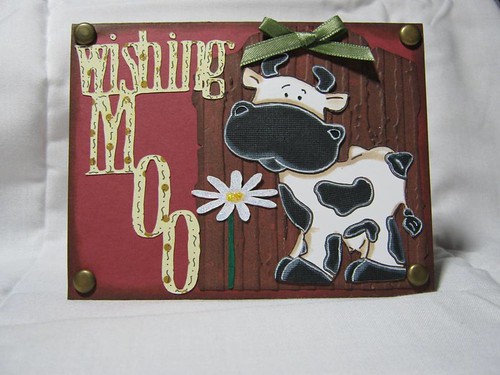
I just LOVE LOVE LOVE the cow on PDDU!! GrammaS from the Cricut MB made an adorable card with the cow so I had to try it!! While her card is different *and okie is able to admit MUCH MUCH better* I do like this card!! I used Stamped for the wording, flower and tag. I did widen the tag with DS to make it how I wanted. The brads are some that I embossed myself.


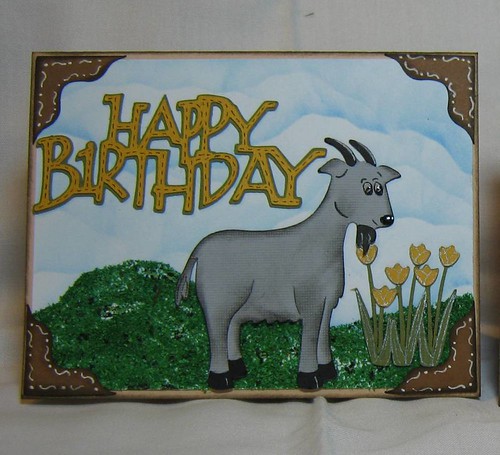
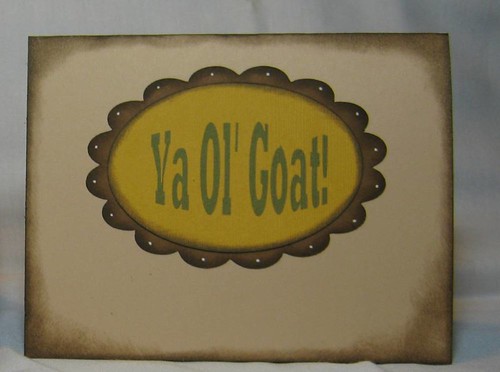
I made this card today. It is the Happy Birthday Ya Ol' Goat card. I am posting the inside of this card also so it makes more sense why there is a goat on the front! LOL I used AK for the goat, WIMG for the tulips, Beyond Birthdays for the words and Jasmine for the photo corners. I did the sky thing again with inks for this one. The grass is some kinda grass stuff I got at a store in Moore while I was visiting my sister. For the inside I smooshed the circle on Mini Mono again. I did the wording with MSword using the text art feature I think it is.


Okay I think that is all I have for now!! Sorry I haven't been posting much, been busy with school starting.....and still will be for another week or two at least. Hopefully after things get settled I can start posting more and adding more .cut files!! Hope you all are enjoying your Labor Day weekend!!

Sunday, August 17, 2008

Academy Awards are here!

Well okay not really. But we can pretend can't we?

AbleMujer from the MB asked if I could make an OSCAR STATUE cut file for her. She was making special birthday card for a dear friend of hers. She did a fantastic job on the card!! I love how she made the card with all the elements!! The Oscar is right at 5.5 tall. I had to do the arms seperately for them to show up other wise it looked kinda odd with just lumps sticking out his sides LOL.

SUPER FANTASTIC CARD ABLE!!

Mickey Seasons Greetings

I got to playing around with DS today and thought about putting a Santa hat on Mickey's head for a Christmas card. I came up with MICKEY SEASONS GREETINGS card.

I was originally going to do a standard A2 card with the scallop circle and Mickey head and put the greeting on the inside of the card but I remembered I had some red cards that I could use. I think they are just smaller than a 5x7 card.


Cartridges used are -
Mickey Font for Mickey *like DUH okie*
Paper Doll Dress Up for the Santa hat
Beyond Birthdays for Season's Greetings
Mini Monograms for the Scallop circle

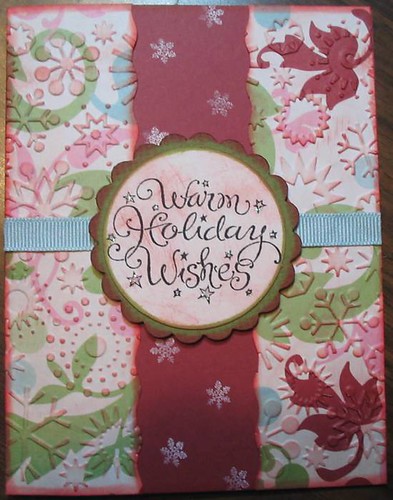
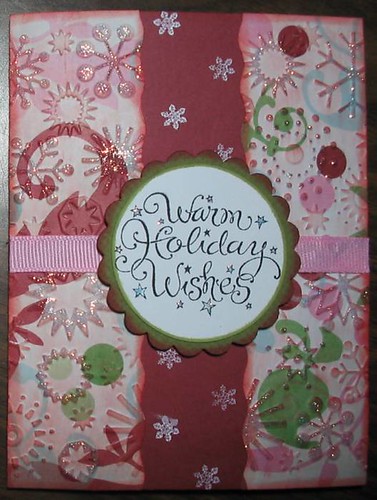
The file is made to cut 6 cards at once. Well with two mats having to be cut twice. I figured why not cut 6 if I was going to do one! The mats are labeled for easy identification LOL. The stamping is from Inkadinkado Warm Holiday Wishes. I did go over some of the flourish with a glitter pen *honestly it looks better in person, I swear!*. I cut the ban at 1.5 inches and embossed with the snowflake cuttlebug folder.

If you are going to use the file and plan on doing a A2 card you won't be able to fit the greeting on the front since the scallop circle takes up most of it. The first mat of the file is for reference only and shows the origninal LO I was going to use, and I still might later on.

Saturday, August 16, 2008

Another Christmas Card

Not too happy with this one. But I think I can do better on the next version of it. I used JOTS for the wreath and the Happy Holidays. My mat was sticky sticky and the red lettering was kinda hard to get off the mat and did tear but I was able to fix it with some glue. I used stickles for the berries and I used a glitter pen on the red lettering and doodling on the band of the card. Next time I will cut the wreath out of card stock and I think I will like it better than just paper.

Wednesday, August 13, 2008

Christmas cards

Well I am trying to get a jump start on my Christmas cards this year. I made this one tonight. I have several stamped and the scallops ready and the side strips done, just gotta ink and put them together.

I used a Inkadinkdoo stamp set for the sentiment. I used the snowflake cuttlebug folder for the embossing, a small snowflake stamp from the Studio G series 12 December set. I used Cat eye ink for inking the edges. Oh yeah and STICKLES! Used Stickles on the stars - diamond!


****************UPDATE****************

Okay I couldn't resist adding some Stickles to the cards!! NOW I LOVE THEM!!

Tuesday, August 12, 2008

Sunflower card

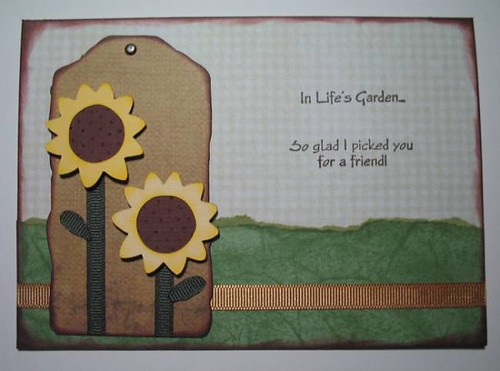
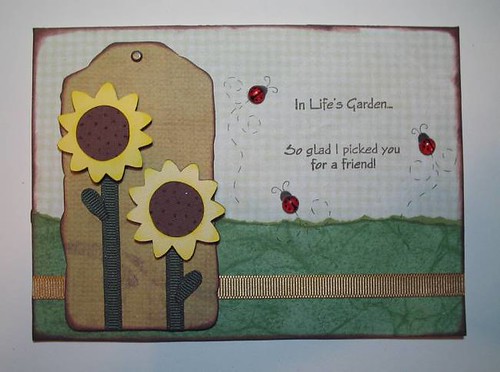
I got caught up on my decal orders and was able to make a card tonight. I used Stamped for the tag and SYI for the sunflowers. For the stems I used some dark green grosgrain ribbon and then cut the ribbon for the leaves and burned the edges with a lighter to keep it from fraying.

I thought the card looked "OK" but was feeling it needed something else, just couldn't decide what it needed.

I posted it on the MB and then Wife2TJ said it was missing ladybugs........so naturally I had to go get out my skittles and make some ladybugs.

AND.......WOW it sure made the card look SSOOO much better!! I drew the heads and antennae then doodled the flight pattern lines with a black marker pen, ya know the fine line Zig ones *okie loves those!* Thanks so much Wife2TJ for the suggestion!!

Friday, August 8, 2008

Bunco.....

I have to confess....I have never played Bunco. And I really don't know what it is other than a dice game. A few months back a MB member asked me to make an invite in the shape of dice for her. I didn't know if it would line up right or not. I never heard from her after I sent her the file so I chalked it up to a crappy cut file LOL.

Well yesterday I was cruisin the MB and saw where ScrappingRT had made a Bunco centerpiece. She said she was going to use it when she had her friends over. I pm'd her and told her "give me your email address NOW! I have something to send you". Evidently she trusts me since she sent the email addy, but she did say I scared her! HA HA HA HA HA *okie can be so evil sometimes*

I sent her the cut file for the BUNCO INVITATION CARD and she cut it right away. She said she loved it!! I left the top without dots so you can put "You're Invited" or "Bunco Party" or what every you want. Also you can delete the word Bunco if you just want a dice card for something else. I can't even remember what size the card is now. But ScrappingRT did say it lined up and cut perfectly!

Wednesday, August 6, 2008

Cricut Decal Hold Up

Sorry guys my last blade gave out on me. I think I have responded to everyone who has emailed me about the decals. I do have some blades ordered and hopefully they will be here today or tomorrow.

Once the blades get here I will send out invoices for those who have emailed me. Unless you are using a money order and I have emailed you the form to use. For some reason my WM doesn't have blades. They have mats, machines, carts, etc.......but NO BLADES!! LOL

Sorry about the delay!! Please forgive me.

Friday, August 1, 2008

WHEW been busy!!

Well I was able to get all my orders that were paid up shipped out this week. I do have 2 orders to invoice today and a few that are suppose to be coming in the mail. Thank you to all that have ordered the decals. I was concerned about not getting enough to pay for the vinyl. But you guys helped me surpass that and I was also able to get shelving for my craft room! THANK YOU SO MUCH CRICUT LOVERS!!!

Softbrn decided to have coffee yesterday and organize her scrap space and asked who wanted to join. I DID NOT want to join in on this but did and once I got in the middle of it I couldn't quit and had to get some shelving, so off to Home Depot I went!

Here is a picture of how my space looked while in the middle of reorganizing. Have you ever seen such a mess in your life? I kept trying to figure out how to put things back but nothing would go like I wanted it. I had dumped all my flowers and organized them by colors and put them in my Starbucks Frap bottles. I had my skittles in them but wanted the flowers in them instead. That is what caused the most problem. Because then I didn't know where to put my skittles!! AACCKK!! At this point right here I was about ready to just rack everything in a trashcan!! LOL

So after getting some shelving at Home Depot I was able to get things a little more organized!! Yeah I know I still need to do some serious organization but at least I can see where everything is now!! WOW I HAVE WORK SPACE AGAIN!! The lamp on the table is one that Robynstamps suggested.....AND IT IS GREAT! It can be found at Wal-Mart for $22.97! Softbrn has one also and she says she likes it better than her OTT-lite!! Oh yes the lamp is called a Sunlight Lamp, made by Lights of America I believe. It comes in a box that is kinda maroon in color, and I found it on the bottom shelf.....just a little info if you want to go look for one.

Here is a close up picture of my paper shelf. I really need to get some more paper storage though, I am running out of room!! I have all my ribbon on top of my paper shelf right now. I am going to pick up a few more of the cd crates for my ribbon in the 3 tier basket. I like the crates because they can stack and you can pull the ends out of the little holes. I have stamps in the binders and want to get matching binders eventually, and also bigger ones as the 1 inch doesn't hold much! UGH!


Here is a close up of the shelves. I debated quite awhile on the shelf size. I did end up gonig with then 9.5 inches I think it was. These are like 45 inches long I believe. I like this system because I can always adjust the shelves later if I need to without actually having to redo the whole shelves. Oh check out the cute bear sitting on the top shelf!! A MB member sent that to me! It says "I love Yokohoma" HOW CUTE IS THAT!?! He is my scrappin buddy and doesn't get hair everywhere or knock things off the table like Simon the scrap cat! I do still have enough room to move the top shelf down and add a shelf at the very top, which I might do and put my Cricut cartridges up there. I don't keep my carts in the box since I keep them in my spinner next to the Cricut. I still love that method!

Here is a pic of my flowers and buttons in their little bottles. The small mason jars were candles. I bought them for like 40 cents each I believe it was and then just took the wax out and washed the jar. I need to get 4 more so I can have an even number. I like things to be equal LOL. If you look to the bottom left of the picture you can see 2 pencil boxes I picked up at Walgreens for 50 cents a piece when they were on sale. Wish now I would have picked up a few more. They are great for putting cuts in while your in a middle of a project and don't want to leave them laying out. I have my Cuttlebug folders stored in one. In the other I have my cuts for the cricut head decals.